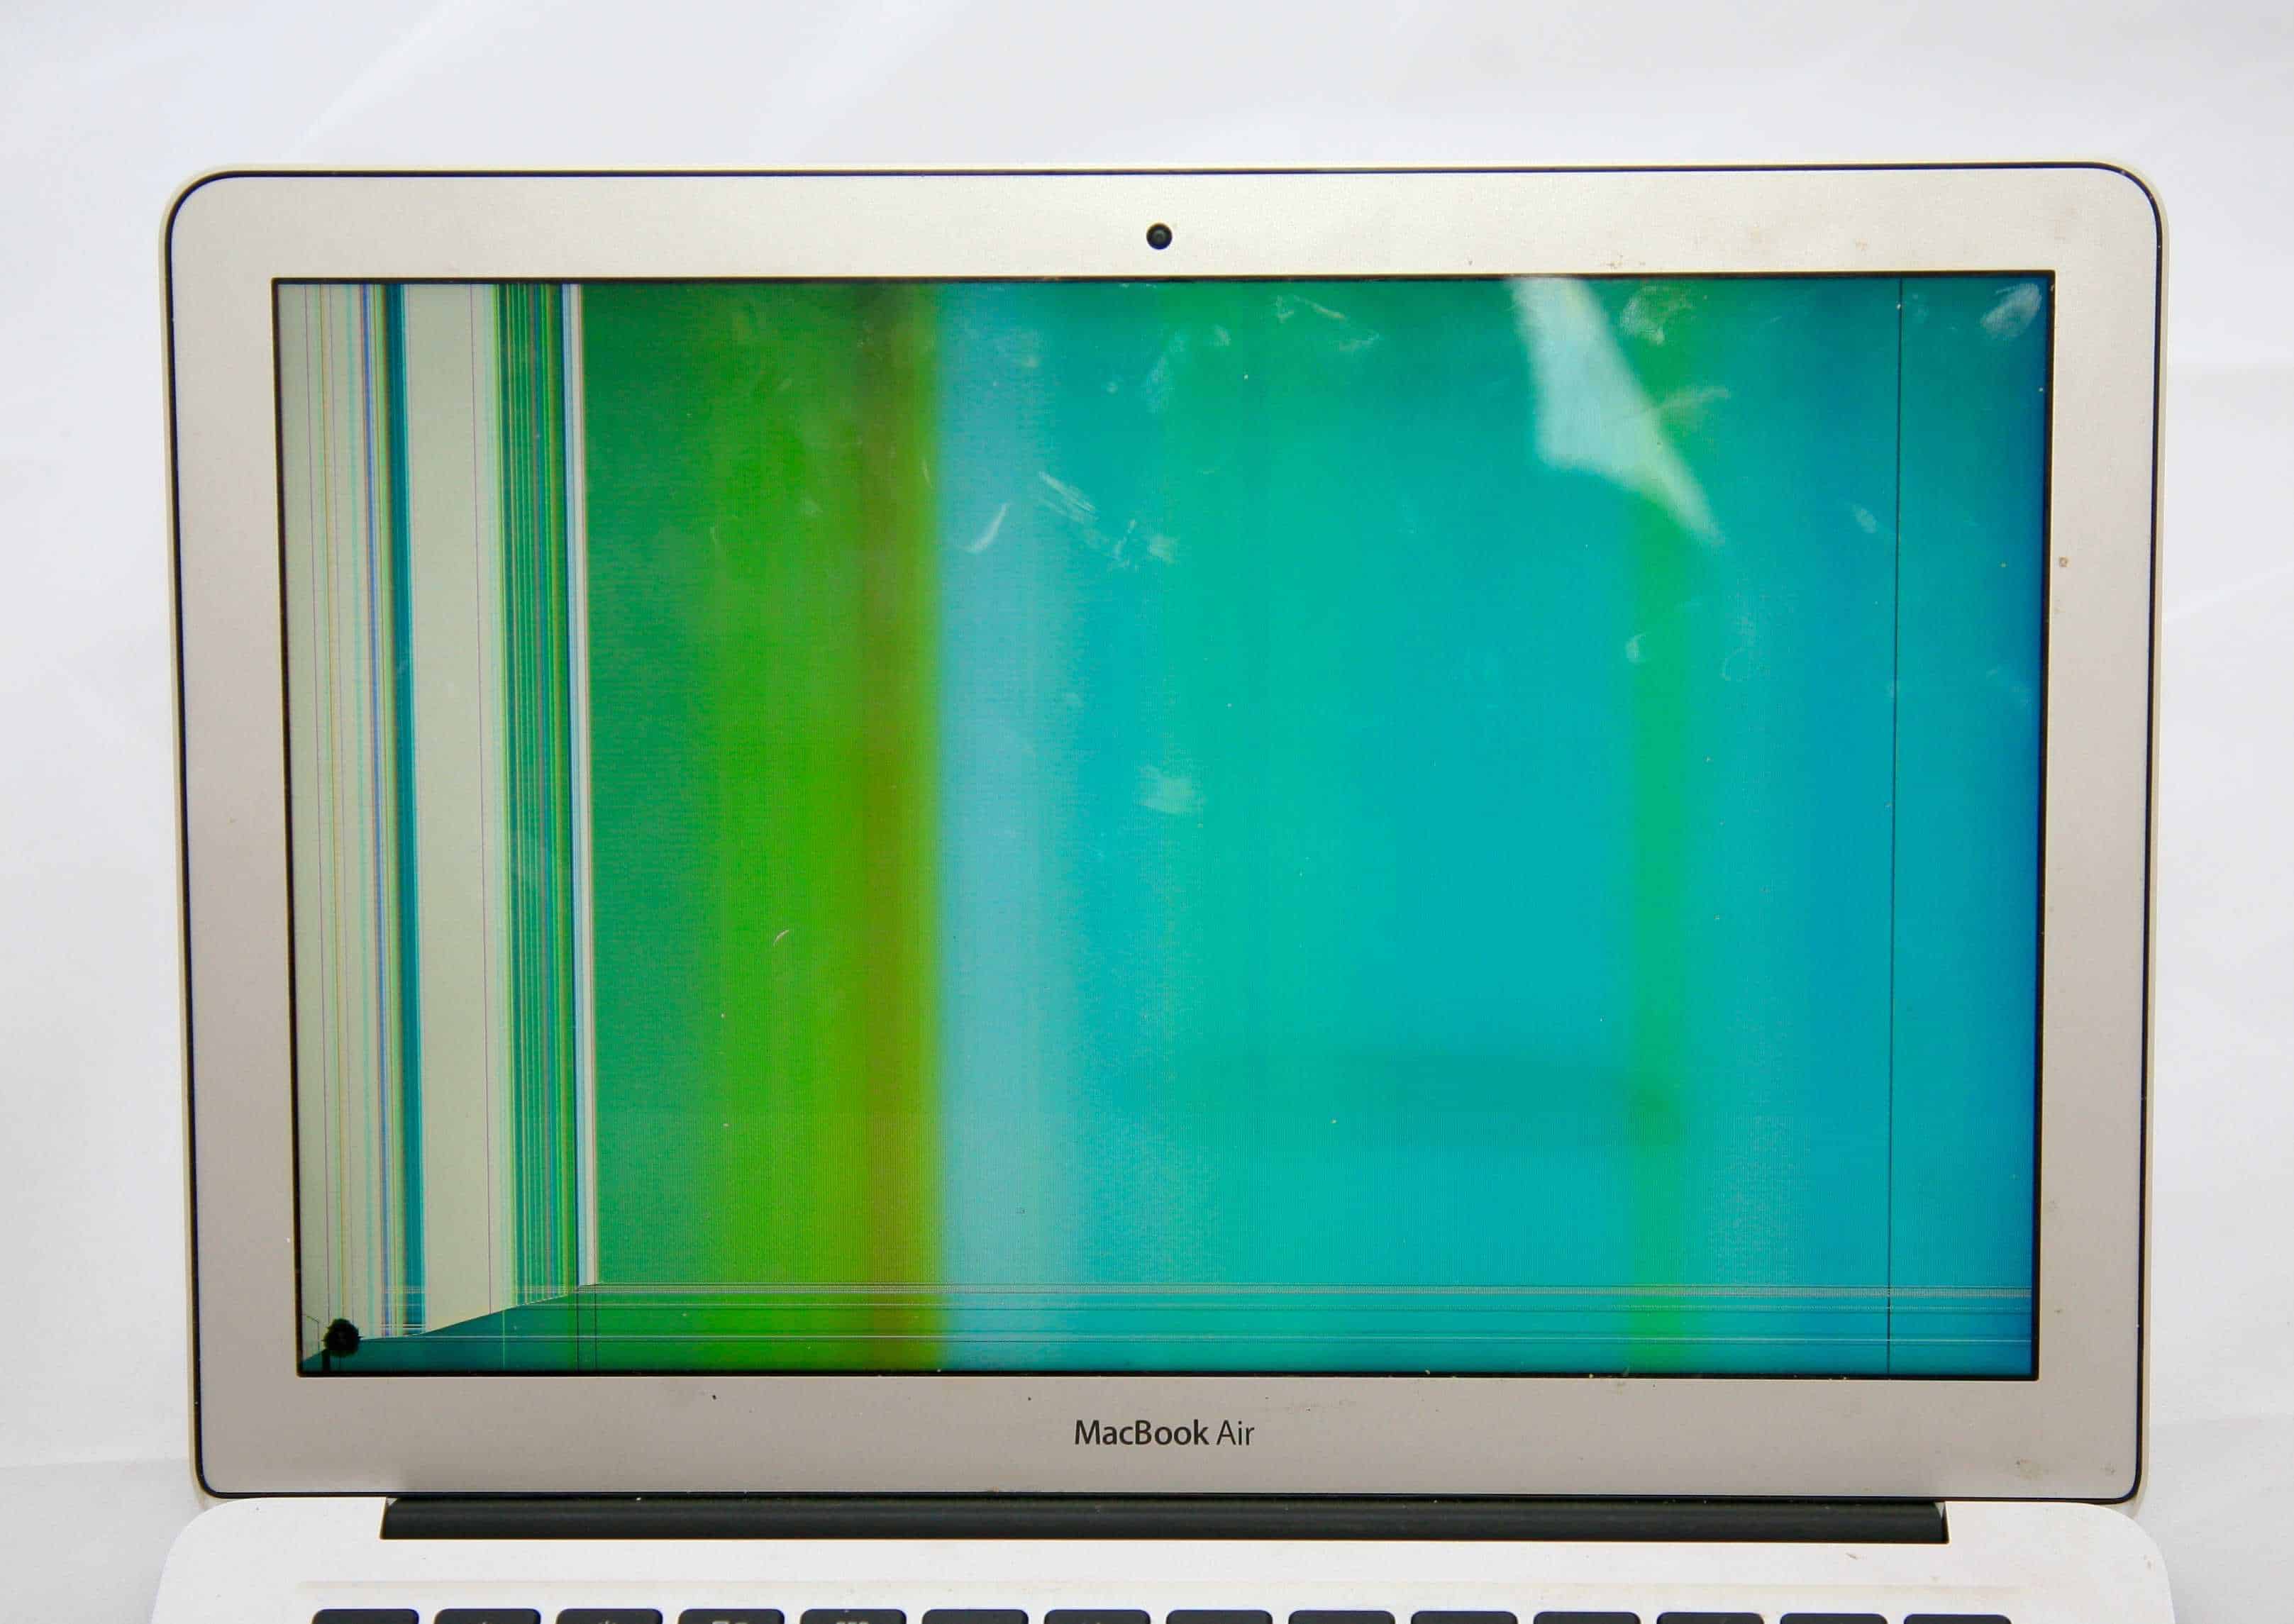
If Your Display Looks Like This, use an External Monitor and call us!
So you open your awesome MacBook one day to find your screen looking like the image below, we imagine that you are not too excited about it. If you ARE excited about the change and would rather re-purpose your technology for artwork, just buy a mounting bracket and hang your MacBook on the wall! Who else in your circle of friends has such a beautiful piece of art? It even boasts a back-light for vibrant viewing at night. Right? Okay, maybe not. Although this image is rich with beautiful hues of green and yellow, you would probably rather see your normal desktop with its familiar icons. The good new is that until you have it fixed, you can use an external monitor to resume your digital life.

MacBook Air Display with no recognizable content
Oftentimes when a display is damaged you will still be able to see and use part of the screen. But in some cases, the screen is damaged in a way where it becomes completely unusable. In cases like the one above with the pretty green hue, the issue is just the LCD panel. Replacing the LCD panel will get the computer running properly again. Sometimes you may need to use your computer while the display is not working. Read on to find steps for connecting your MacBook to an external display.
Using a secondary Display
The first step is to gather a couple of items you will need to connect your MacBook Air to the secondary display.
- You will need a secondary display with VGA, DVI, or HDMI inputs. If you have a even slightly modern TV, it will likely have HDMI inputs.
- An adapter to go from your mini display port to the port on your monitor. If you are going to use your TV with an HDMI port, here is an example of an adapter that would work with a MacBook Air.
- A cable to connect to your adapter then to your monitor. If you are using your TV, you could disconnect something that is plugged in currently using HDMI (like a blu-ray player), and connect your MacBook Air.
- Once it is connected, you will see a secondary screen on your monitor where you can work. You may want to go a step further and have the secondary display be your primary display. If so, just connect a keyboard and mouse to your computer. After you have made the connections and are sure you are connected to power, close the MacBook lid. This will force your machine to use the external monitor as the primary display.
Goodbye Blue and Green Hue
Using a secondary monitor is a great workaround for an emergency. Once you want your portable MacBook Air to be up and running again without having to connect to an external monitor. We can help! We offer the MacBook Air LCD replacement you would need to get your computer back up and running properly.
If you have a 13″ MacBook Air with a broken screen that looks like this one, our LCD replacement service will fix your issue:
[products ids = “1078”]